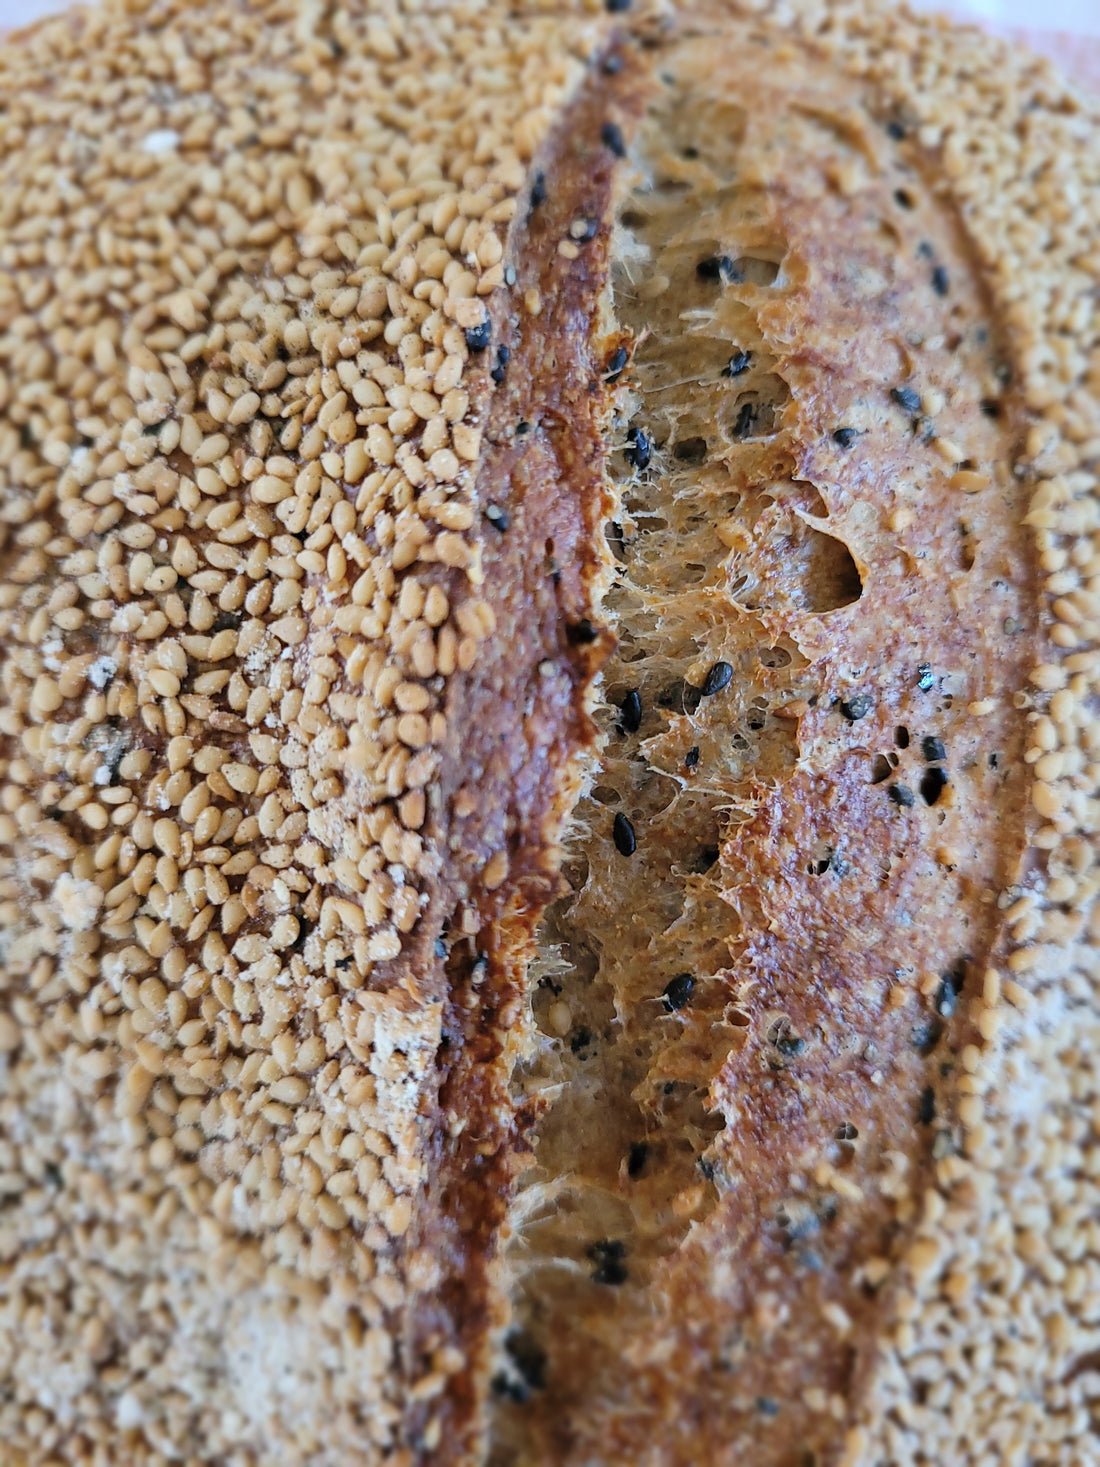
This bread is based on a basic Sifted Red Fife Sourdough recipe, but with the addition of roasted black and white sesame seeds. The roasted sesame flavour makes this great as a sandwich bread or toasted with honey.
This is a 78% hydration dough, however the hydration can be increased or decreased to your liking. If you are new at making sourdough, reducing the hydration will make the dough easier to work with, although the final result may not have as open a crumb. Once you have read through the recipe and understand the times required in each step you can adjust to suit your schedule.
Makes 2 loaves
Leaven:
1 Tbsp mature starter
200g warm water (24C)
200g EX 85 Red Fife flour (or whole grain rye flour works great, too)
Bread:
200g leaven
780g warm water (24C)
18g fine sea salt
1000g EX 85 Red Fife flour
1 cup roasted sesame seeds (black, white, or a mix), plus more for coating
Day 1 (morning):
Make the Leaven: Discard all but 1 Tbsp of starter. Add warm water, stir to dissolve starter in water. Add 200g Red Fife flour. Stir to combine, cover and let sit at room temperature 4-8 hours. It should look aerated with tiny bubbles throughout, will have increased in size by about 60 percent, and should be able to float on water. It should also smell sweet, rather than sour.
Mix the dough: Pour the warm water into a large mixing bowl. Add 200g leaven and stir to combine. Add the salt and stir to dissolve. Add the flour and mix thoroughly, ensuring there are no pockets of dry flour in the dough. Cover the bowl with a clean kitchen towel and let rest for 45 minutes.
Bulk fermentation: After the rest (autolyze), add the sesame seeds and begin your first round of stretch and folds: using a wet hand, grab the underside of the dough, stretch it up, and fold it back over the rest of the dough. Repeat this 3 or 4 times so that all of the dough gets worked. This is considered 1 turn. Cover, allow to rest 40 minutes and then complete another turn. Repeat until you have done 3 turns. After the 3rd turn, cover the dough and allow it to rise until it has increased in size by 20-30 percent, about 1 hour. If your kitchen and dough is cool this final rise time may increase. You can test the dough's readiness by gently pressing a finger into the surface of the dough. If it makes a dent that slowly begins to rise and fill in it should be ready. If the dent quickly springs back it needs some more time.
Pre-shape and bench rest: Using a wet hand, gently turn the dough out onto your bench and divide into 2 equal portions, about 1000g each. Fold the dough in half, and using your bench scraper and damp hand shape the dough into a tight ball, seam side down. This begins to develop surface tension in the dough. Do the same to your second portion of dough. Cover the dough with a kitchen towel and let rest for 15 minutes.
Shape and final proof: Line 2 9-inch proofing baskets or bowls with clean kitchen towels and sprinkle with a light mix of Red Fife flour and whole rice flour. You won't need as much flour as usual as these loaves are coated in sesame seeds which will also help to prevent sticking. Lightly flour the top of one dough ball, and then flip it over onto a very lightly floured surface. Gently pat it down, being careful not to deflate it too much. Fold the bottom third up toward the centre, followed by each of the sides and then the top. Finally, fold the bottom third up again, this time using this movement to flip the dough over so that the seam is on the bottom. Using your hand and bench scraper, rotate the dough on the surface of the counter, using a slight tucking under motion around the edges of the dough until a round shape is created. Repeat with the second pre-shaped loaf. Gently wet the surface of each loaf and sprinkle/coat with sesame seeds. Allow the dough to rest 10 minutes to help seal the seam. Place each loaf, seam side up, in one of the proofing baskets or bowls. Cover with a kitchen towel and allow to rise at room temperature for approximately 1/2 hour to kickstart the second fermentation. Transfer to the fridge, covered by a kitchen towel, for overnight cold fermentation. Because of the high hydration of the dough a kitchen towel is sufficient to keep the dough from drying out. If you've chosen to decrease the hydration you may prefer to cover loosely with a plastic bag.
Day 2 (morning):
Put a deep dutch oven/combo cooker in the oven and pre-heat to 500F for half an hour. Just before baking, remove one loaf from the fridge. Remove the base of the dutch oven from the oven and gently transfer your loaf, seam size down, into the shallow base of the dutch oven. Score (cut a slit along the top to direct the expansion of the bread), cover with the deep lid of the dutch oven and put into the oven. Immediately reduce the temperature to 450F and bake for 20 minutes, then remove the lid and bake for another 20 minutes at until deep golden brown. Carefully remove the loaf from the dutch oven and allow to cool on a wire rack. Allow the dutch oven to return to 500F before baking the second loaf.